Today's project and tutorial is one I have been planning for quite awhile now and it finally all fell into place. I have a big blank wall above the garden tub in my bathroom (well, I have big blank walls everywhere but that will be changing as we go along!).
I was inspired by a piece I saw in a Ballard Designs catalog many moons ago. I knew I could make my own version, using paint chips. (Now before anyone gets their feathers ruffled - I did NOT go stealing paint chips to make this project. As you will see in the pics below......I will NEVER again need paint chips for my ART. When our local Home Depot closed out their Ralph Lauren paint line I asked what they would do with the samples? Well, as you guessed, they said throw them away. I asked if I could come in and take them down. My
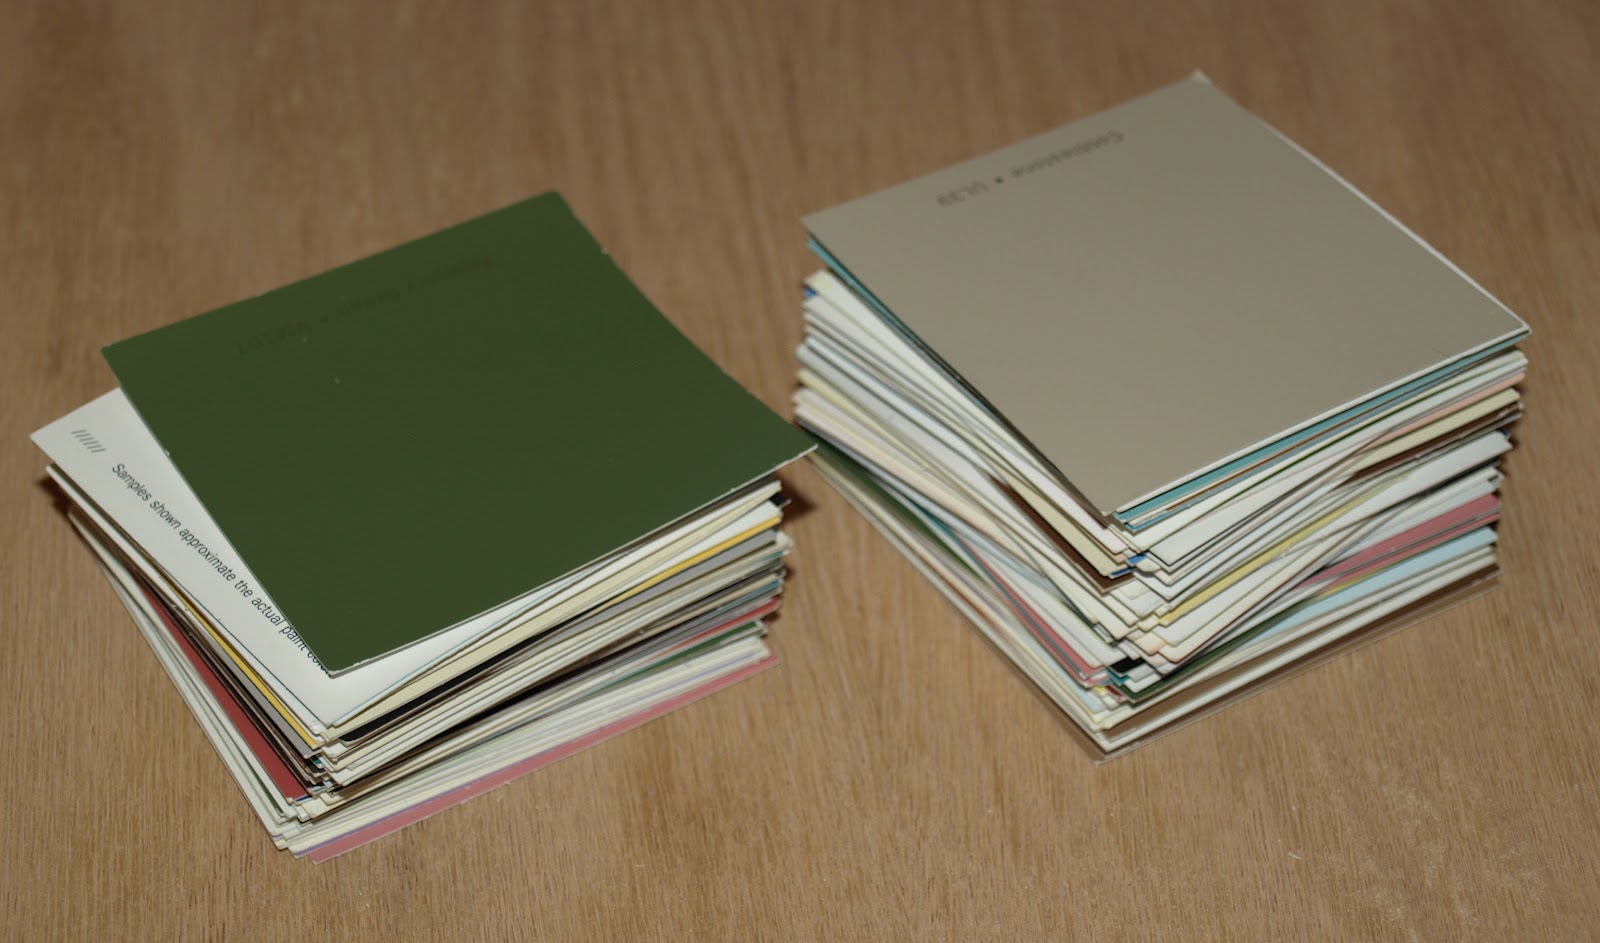
 |
| Paint Chip Stash |
So, Hubs and I decided that the appropriate size for the space was 3' x 3'. I wanted to do it on canvas but decided that was too expensive for my budget and desire for FREE (or nearly FREE) ART. Then, while standing in the canvas aisle at Michael's, I see a wooden version of a gallery canvas, a light bulb moment, truly. So, Hubs, aka Wonder Woodworker man, says "I can make that!" Okay Ddokie there JimBob, but will you? Well, a few months later I say "Can I please have my wooden canvas now?" And with a little
What do you need?
1/8" paneling cut to size ( mine was 36" square)
1/2" boards for the sides
finishing nails or brads to attach the boards
wood filler and sand paper to hide the nails
Paint for a base coat (I used dark brown interior satin)
Spray Adhesive (I used Elmer's)
Paint Chips (mine were 2 1/2" and I used 15 per row)
Polycrylic Sealer (my fave for nearly everything)
Blue Painter's Tape
Dark Brown Stain (I used Ace Hardware Jacobean )
Gold Glaze (I used Martha Stewart's Medallion Gold from Home Depot)
Bronze Glaze (I used Martha's Stewart's Muscovado Bronze from Home Depot)
Varies brushes and cloths for applying paints and the like)
First challenge was to find paint chips in the same colors in quantities of 5 and choose them. I plan to do a Peacock theme in this room, so I chose colors that would compliment that. I didn't want it to be as plain as my inspiration piece so I did use brighter colors as well. There is zero color in this room. Dark Brown countertops, beige tile, beige walls with gold fixtures...NOT my color palette of choice but you have to choose your battles! So, I shall just bling it up a bit, yes? I sorted out into the cute little trays that used to hold the paint chips (Now I wish they had given me more of those puppies) 44 colors. I figured that I needed 225 chips [15 x 15] so that meant roughly 5 of each. Then I added a handful more of the neutrals and threw them out on the board and mixed them up a bit. This was NOT going well, so I scooped them into a big bowl and proceeded to stir then dump (the higher up you dump them out, the better they mix) and repeat several times. When they were mixed up I grabbed them in big stacks and just straightened them out (think deck of cards). I began my dry run of laying them out as they came off the stack (obviously right side up). I didn't worry about where the color name was (top, bottom or side). I knew if I did, somehow one would escape while I wasn't looking, plus I like the randomness of it all. Occasionally I had a duplicate or 3-4 same color values in a row and I did adjust a bit....otherwise they are as they came off the stack.


I took a dry erase marker and labeled the trays 1-15 and picked them up one row at a time and placed them in their coordinating holder. Before you pick them up I recommend snapping a pic or two. I was surprised that I had a couple of spots that looked really 'off' and needed a color adjustment. I could not 'see' this with my eyes.


So, I began painting the sides. Now you could stop there and leave the board raw wood and continue gluing. I decided just in case I had a 'peek through' I wanted a darker base coat down first. I mixed together a nice dark brown and painted away. I put one thin coat on the surface but 2 on the sides.
Yay! Ready for gluing. I laid out, in order, the 15 tiles for row one, face down in a cardboard flat. I gave them a good coating of the Elmer's Spray Adhesive and began to lay them down. Then row 2, and so on and so on.


And voila.....the finished paint chip covered canvas. Isn't she pretty? I love it, but it is too bright and disjointed for my purpose. I let it dry and then prepared to topcoat it.


First up, a coat of Polycrylic and let dry. Now, for my totally unbiased opinion of Poycrylic......GO NOW and buy some and then get some more. It is my FAVE product ever for sealing practically anything. I LOVE that it can go over paint as well as paper. All of our repurposed stained glass mosaic wooden windows are sealed with Polycrylic. It's good stuff Verne! Alrighty - commercial is over.....but seriously people, go buy some! Ok?
Because I want the sides to stay plain brown, I put a layer of blue painters tape around the edges during the staining and glazing steps.
Now to add the stain. I wanted to tone down the whole piece so I rubbed on (and right back off) the Ace Hardware Jacobean Stain until I was satisfied and let it dry. Basically I used old pieces of a terry cloth towel and "pounced" it up and down, sort of like sponge painting (Which I'm sure would also work).


Now for some shimmer. I used Martha Stewart Living Medallion Gold and Muscovado Bronze glaze from Home Depot. I rubbed it on and off, just as with the stain. When I was happy, I again, let it dry. :::sigh::: Does the Universe not understand how hard it is to wait for things to dry? Seriously......
 |
| Medallion & Muscovado |


It looks great but is not finished yet.....another coat of Polycrylic and again with the drying thing! Repeat! Repeat! And then ONE more coat of Polycrylic. Oy! Because this piece lives in FL and also in a Bathroom I put a total of 4 coats of Polycrylic uptop. Somewhere about coat 3 I noticed a few "bubbles" appearing. I could smooth them out, but they came back. So, I decided to embrace them, since they were randomly placed all over the board. Actually, they add a cool sense of texture now, that I'm sure I couldn't duplicate if I tired! I LOVE happy accidents!


Ta-Da.....my virtually FREE and FINISHED Paint Chip ART! I am swooning here. I am a Happy Girl! Hope this inspires you to make your own piece of ART. If, however, it does not and you still WANT one, contact me here, by email, on Facebook or our Etsy store. I would be happy to make one for you in your choice of colors! I 'think' I can rustle up a few paint chips! :D
Ars Gratis Artis - ART for ART's sake
How Totally Amazing Shelly! LOVE it! *Hugs*
ReplyDeleteFabulous! The piece is amazing and so is your patience! (Please consider turning word verification off. I love commenting but it makes it so difficult.)
ReplyDeleteThat is so cool and a one of a kind piece of art!!! Thank you for sharing!
ReplyDeletethanks gals!
ReplyDeleteI love it!!!
ReplyDeleteThanks Chrystal!
DeleteI'm loving this, Shelly! Diann
ReplyDeleteThank you Diann! I had so much fun making it! :)
DeleteLove this. Hunting paint chips now :)
ReplyDeleteGreat colorful idea! Love it!
ReplyDeleteThat would be a really fun patio table top. I wonder if it's possible to make it durable enough to live outdoors. Maybe you could put a piece of glass over it.
ReplyDelete